 In our previous blog post in our Tessel Camera module series, we walked through how to program a Tessel Camera App to capture photos.
Now, let’s make it collaborative!
In this tutorial, we’ll show you how to display a real-time, live camera feed with the Tessel Camera and AngularJS. Essentially, we can build a DIY IoT equivalent of Instagram or a live photo blog, with no need for the user to manually refresh or request updates. The photos flow in and are published as they’re taken by the Tessel Camera.
Getting Started
If you haven’t completed the steps in our previous post on programming a Tessel Camera module with JavaScript, you’ll need to before continuing with this part of the project.
You’ll still need to make use of the pubnub-tessel package. If you don’t already have the source code, clone it from the link provided below.
Use the /projects/streaming-camera as well as the same dependencies.
Last time you sent messages and saw them sent in the console.
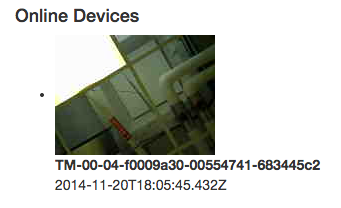
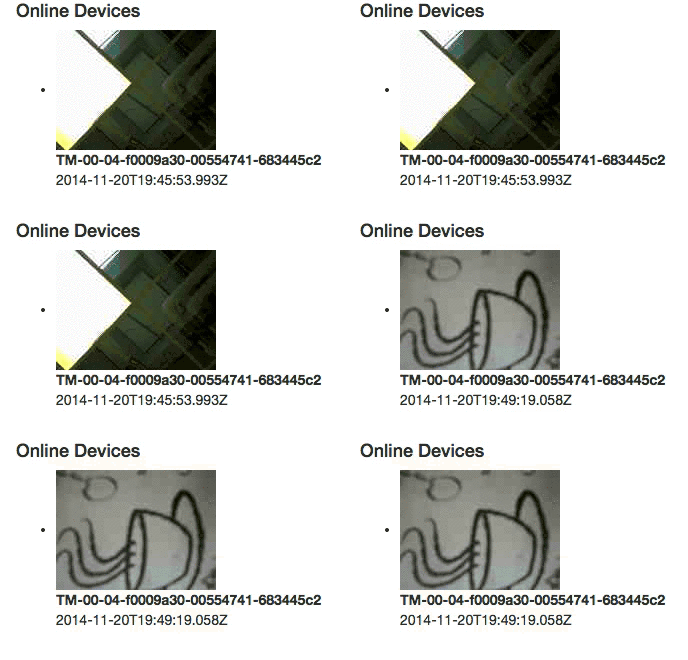
Now what if we wanted to see the actual images without having to download them to a directory? You can do this in real time using PubNub. Here is the example of the finished product:
The video has been sped up for the purposes of displaying this .gif. Note that the interval has been set to a time, which allows the Tessel to compute everything necessary. The camera-ui.html file contains contains the code for this app.
Recall from the previous article that the information being sent is in a certain format. This format allows us to fit in critical information, which can then be extracted upon posting the image.
As you can see we are using the uuid, and an iso timestamp, which was calculated in the previous article.
The camera-ui.html file contains contains the html, and angularjs necessary to run the app. It does this in under 66 lines! This is through the use of some Angular magic.
The HTML
The html file makes use of several CDNs:
PubNub is being loaded for real-time messaging. PubNub is the messaging layer for delivering the photos in real time to the live-updating feed. AngularJS is then being loaded for its data binding. Lastly, Bootstrap’s CSS has been added for styling.
AngularJS makes the html simple with the use of ng-repeat.
This code consists of a header, followed by an unordered list, which repeats the devices and their data.
AngularJS
In the JavaScript portion you call the ng-app, declared at the top of the body. Then the pubnub-angular service is injected.
The PubNub arguments are set once the $rootScope has been initialized.
The reason $rootScope is used is because you want the DOM to change with every message event. Sometimes Angular’s digest cycle, by itself, is not enough to do this automatically. After initializing $rootScope, Angular is told to watch for events by using the following snippet:
After receiving the payload you use $scope.$apply in order to finalize the change to the DOM.
The history is then pulled for up to five-hundred messages by using a PubNub method.
The app can view any pictures sent to the channel, using the message format provided in camera-server.js. Then you can start taking pictures and viewing them within the browser. It keeps track of the devices, which are connected to the server by the device uuid. This is the purpose of the ng-repeat used at the beginning of the html body.

That’s it! And we’ll be rolling out a ton more Tessel tutorials on our blog over the next couple months, so stay tuned!

