Publishing Real-time Location with the Android MapBox API

We left off by building our real-time Android location data broadcaster that detects and streams location data. But where are we going to broadcast that to? What are we going to do with it? Let’s visualize those location changes on a live-updating map.
In this blog post, we’ll be using PubNub to create a simple, location sharing and viewing application for Android. In this case, we’ll be using the MapBox API, however we already have the Google Maps API tutorial. In addition to visualizing location changes, we’ll also draw a line of previous location.
You’ll need the full source code for this tutorial, as well as our broadcaster and MapBox API tutorial, so click here to download the all the files.

Let’s get right into it!
Getting Started
The first thing we will do is get our working environment set up. We will need a couple things: * The PubNub Libraries, to receive the location data * The MapBox SDK
NOTE: Some of the libraries and dependencies have been updated: i.e. ActionBarActivity has been deprecated,
replaced by Toolbar.
Setting Up PubNub Libraries For Android
These steps are pretty simple. All you need to use PubNub is to add 2 libraries to your project. The first step is to clone the git Android SDK:
The second step is to add the libraries to your project. You will find them at (replace x y z with current version numbers):
- {the cloned git directory called java}/android/Pubnub-Android-x.y.z.jar
- {the cloned git directory called java}/java/libs/bcprov-jdk15on-x.yz.jaz
If you need a step by step explanation for eclipse, you can check out this link.
Setting Up MapBox For Android
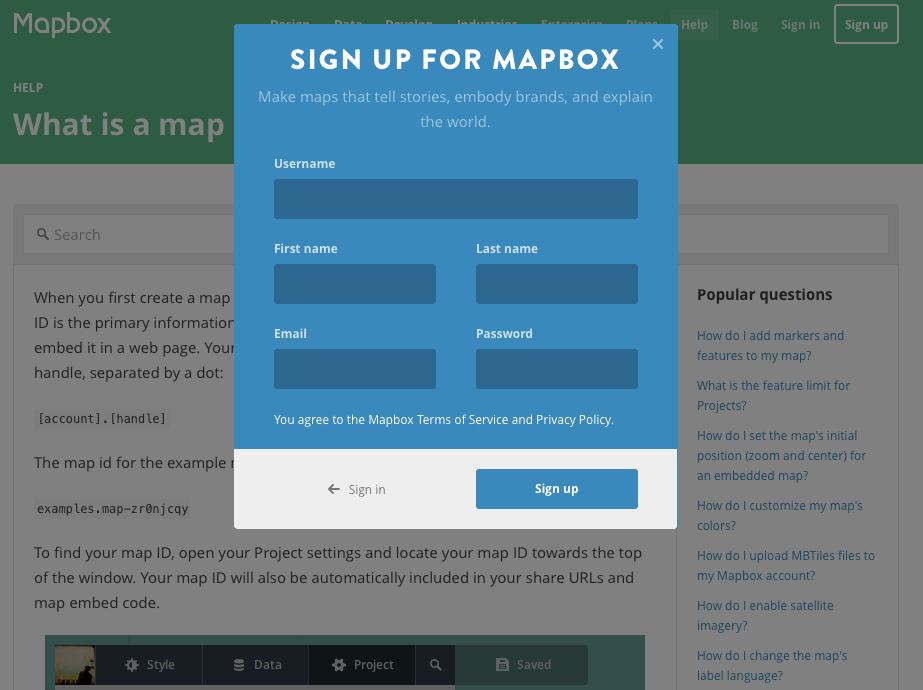
The process can be very simple if you are using Android Studio, or a little trickier if you are using eclipse without gradle. The entire process is explained here. You’ll also need to get a map ID. You need to sign up to mapbox (free).

Hey! That’s all we need! Fairly simple setup, isn’t it? We can start coding now!
Using PubNub To View Your Friend’s Current Location
We will make the bare bones of the application so that you simply have the essential elements to make your own amazing app. We won’t create a fancy user experience, we trust that you’ll create something beautiful.
Our app being stripped down to the essentials, we will only have a single activity. Most of our code will start from the onCreate method.
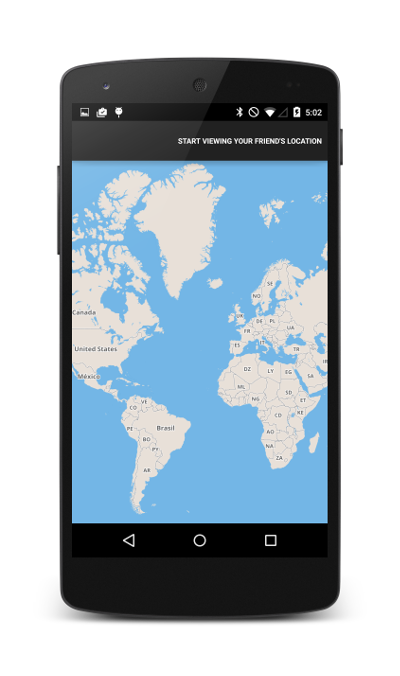
The User Interface
We simply stripped it down to the map:

Initialize PubNub
The first thing we need is to initialize a PubNub instance.
When you connect to PubNub, you need to use Publish and Subscribe keys. To get your unique pub/sub keys, you’ll first need to sign up for a PubNub account. Once you sign up, you can get your unique PubNub keys in the PubNub Developer Dashboard. Our free Sandbox tier should give you all the bandwidth you need to build and test your messaging app with the web messaging API.
All we need to do is to subscribe to the proper channel where your friend is broadcasting his current location. Notice how we are passing it the “subscribeCallback” variable? We will need to implement those. They are the methods which will be called when the connection to the channel succeeds or fails, if someone enters or leaves the channel, and most importantly for us a method which will notify us whenever someone has published a message to the channel.
We will only focus on the callback being fired when a message is sent. You can check out the other ones here.
Great! We are receiving the message that are being send to our channel! The next step now is to edit our map view in order to view the location.
Using The Android MapBox SDK
You have already initialized the mapview with your map ID in the XML layout. Now we need to access the mapview from our activity. Let’s modify the onCreate method:
We will explain what the “initializeMap” method is for soon.
Updating The Map View
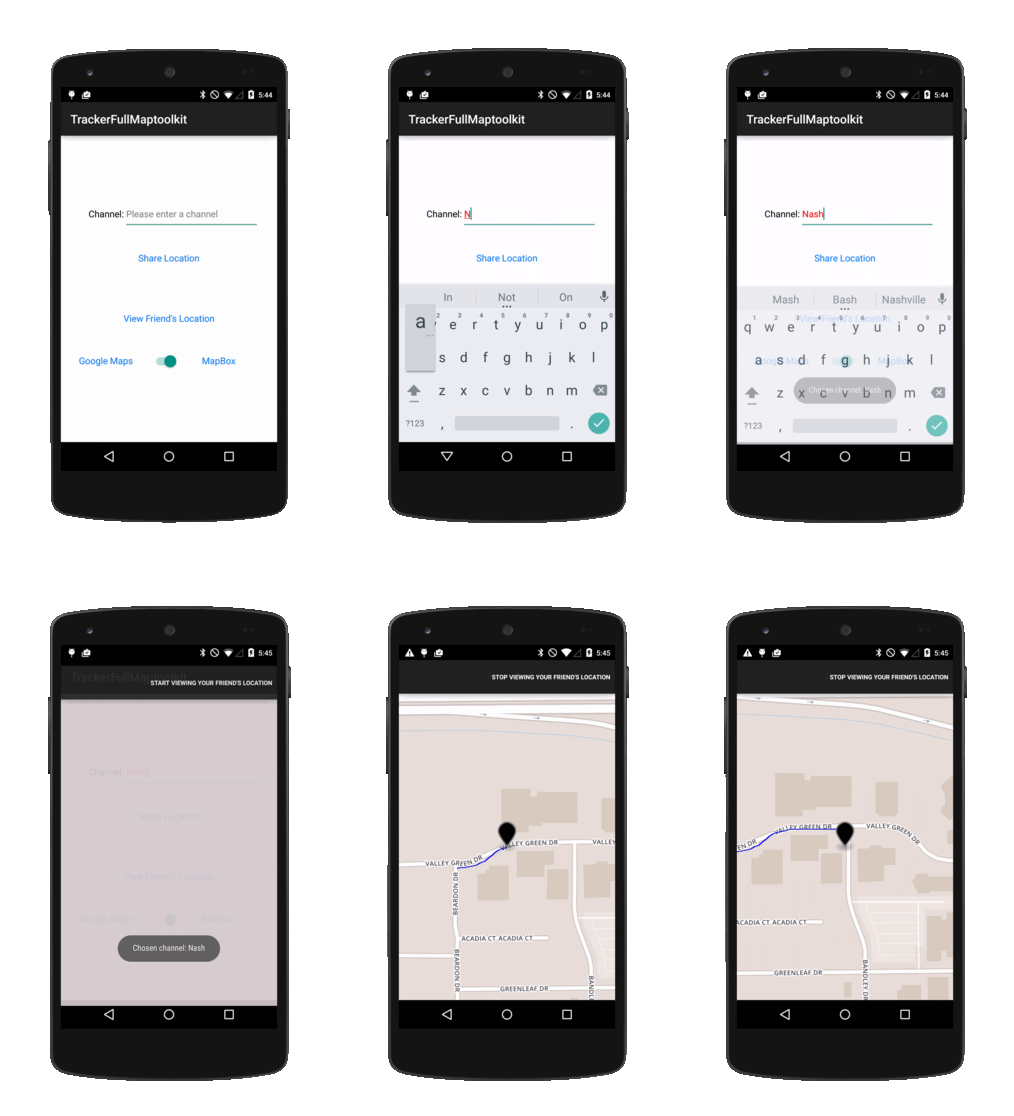
At this point all we have left to do is update the map every time we receive a new location. We want:
- To place a marker where ever our friend’s current location is,
- Draw a line between the previous locations where our friend was in order to trace his commute,
- Center the map view on our friend’s current location.
To do so, we will need to start by initializing the line’s characteristics in the “initializeMap” method:
We’re all set and initialized our variables. We need to update the map following the 3 steps mentioned above every time we receive a new location. This means that we will need to modify our PubNub callback:
A lot of things have changed here. First of all, we need to extract the data from our message. We cast it as a JSON Object and get the latitude and longitude using their keys. This allows us to update our current position variable. Once this is done, we need to call 3 methods which follow the 3 steps: updating the marker position and the drawn line and centering the map on the current location.
However, these 3 methods interact with the user interface. As a result, we can only apply these modifications by running these tasks on the UI thread. For this reason, we must use a Runnable object and call our methods from it. This is just due to Android’s architecture.
Now that we have this out of the way, all we have left to do is implement these methods.
We need to remove the previous polyline from the map, add the new location to the line, add the line back on the map. Unfortunately, simply adding a point to the polyline will not update on the map dynamically, we are forced to remove the previous one and add the new one again.
We need to remove the previous marker. We do want to make sure we do not do it the first time this method is being called to avoid a null reference pointer error. Once we removed the marker, we need to create a new one and add it to the map.
Last but not least, we center the map on the current location.
Hey! That’s it we are done! Fairly simple right? We created a PubNub instance, subscribed to a channel and as soon as we receive a message we update the map following those 3 steps. Pretty straightforward, but it’s a great start to build awesome apps!
Note: If the Google Maps API is more your cup of tea, we’ve written the same tutorial for it.