Update: September 2024. This article is very old, please check out our Chat SDK mobile demo for a more modern take - this uses Expo with our Chat SDK to create mobile chat apps: https://www.pubnub.com/demos/chat-sdk-mobile/
Our new React 2.0 framework is now available in PubNub docs. This framework provides tools to leverage our JavaScript SDK and can be used to add real-time capabilities to any React or React Native application.
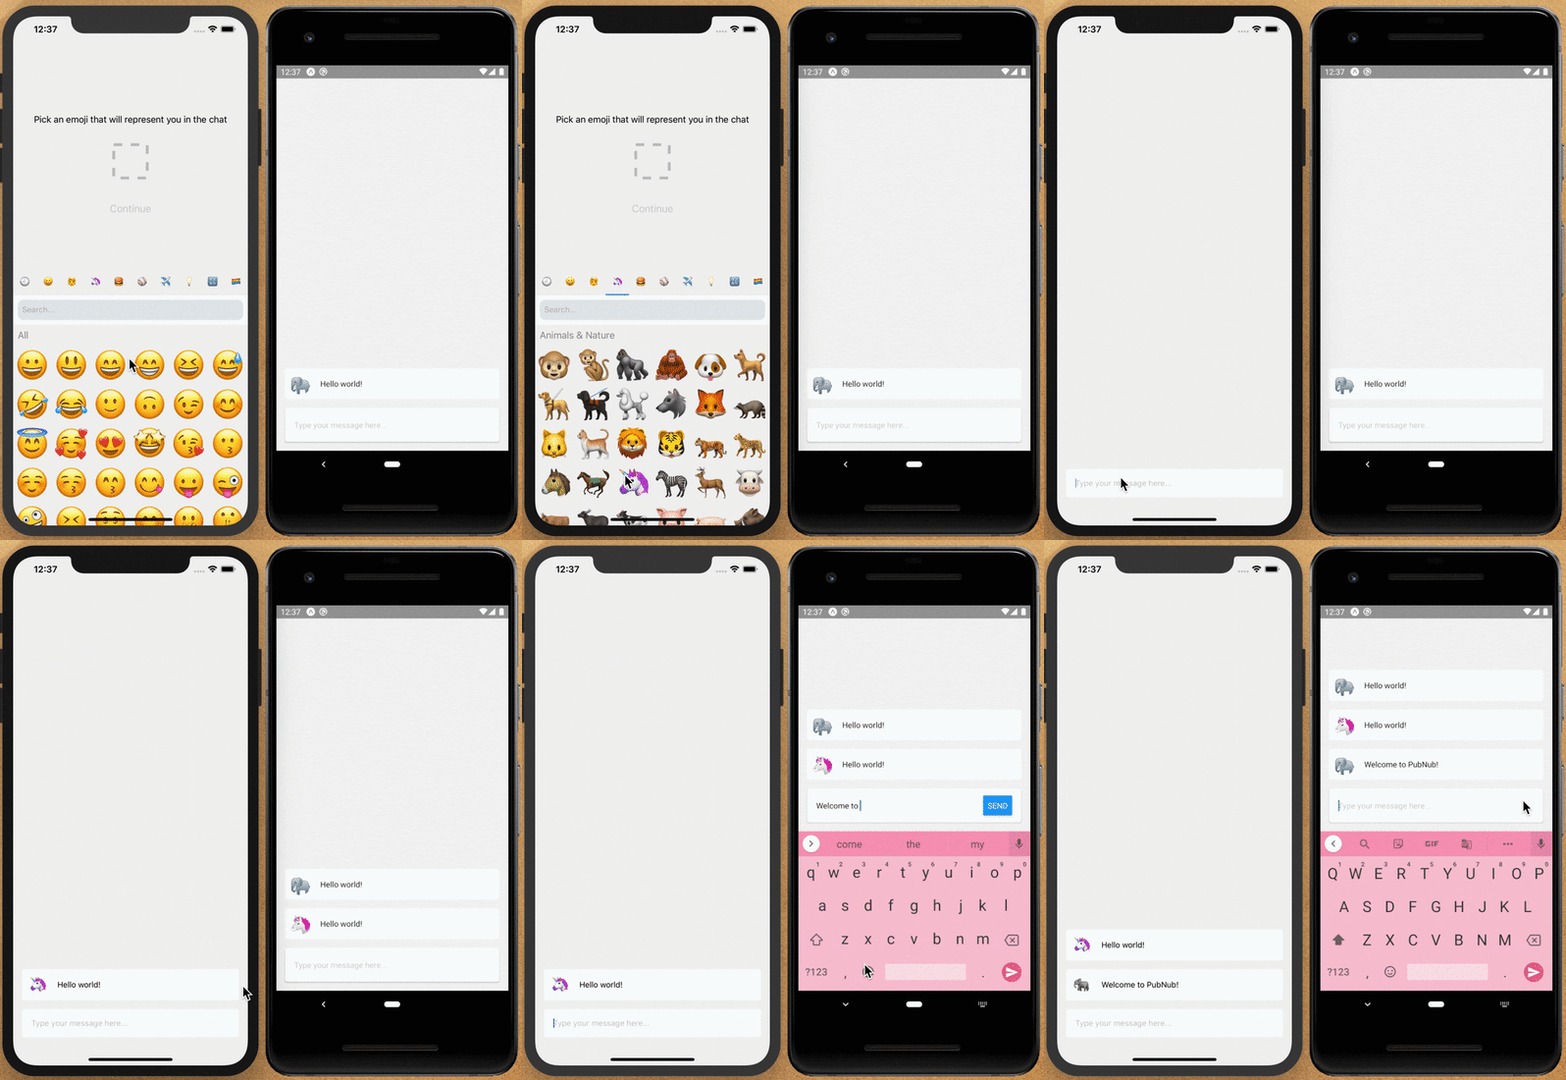
By the end of this tutorial, you will have a fully functioning mobile chat app that allows multiple users to exchange messages in a chat room. When you open the app, you’ll choose an emoji avatar that will represent your user and then we’ll go straight into a chat room to start chatting.
The full GitHub repo for this project is available here.

Prerequisites
Before we begin, there are a few prerequisites for the project.
Node.js (10+) - make sure that you have a recent version of Node installed. If you are not sure, just type into your terminal
`node --version`.Expo - this tool allows you to quickly prototype a React Native app and test it immediately on your phone (similar to the Create React App). The command below will install the Expo CLI application used to bootstrap and run React Native projects.
PubNub Account - to run this app you must create an account with PubNub and obtain your publish and subscribe keys. If you don't already have an account, you can create one for free.
Setup
First, we need to initialize a new React Native project using the Expo CLI. This command initializes an empty application. When it asks you what template to use, choose Blank. After that, it will proceed with installing all necessary dependencies and creating the projects structure.
Next, we’ll enter the project directory and install the PubNub Javascript & React SDKs and other helpful packages. Additionally we will be using react-navigation for our navigation needs and react-native-emoji-selector to simplify things. For more information check out official React Navigation documentation.
Finally, we’ll install the gesture management library for React Native. This library makes touch interactions and gesture tracking not only smooth, but also dependable and deterministic.
Initialize your app
Now it’s time to create our App component that contains all of our providers and views. We will create a PubNub client instance and pass it to our PubNubProvider to make it easier to use it later. Make sure you add the publish and subscribe keys for your app from your PubNub Account. We also create a stack navigator that we will be using in our app.
Finally, we create our App component that contains all of our providers and views. Make sure to pass our PubNub instance to the PubNubProvider!
In your favourite editor open the App.js file and replace it’s contents with the code below.
We’ll import two views that we will be using in this tutorial. We haven't created them yet -- we will be doing that in the next steps.
Select a user avatar
Let’s create a new directory called views in our project.
Then we can move on to creating the EmojiPicker.jsx file in the directory. This code is pretty simple. It shows a list of emojis using the emoji selector library. The user can pick an emoji that represents them in the app. The code also includes default styling that can be customized to your liking.
Subscribe to a chat room
Our last view contains all of the logic of our application; let’s get started! Create a Chat.jsx file in the views directory and copy the code below. This view sets the selected emoji as the avatar for the user using the pubnub.setUUID() operation. It also subscribes to the chat channel and creates a listener that will add new incoming messages to our message state.
Now, we should be ready to receive messages in the chat room. We will walk through the logic to publish a message next.
Publish messages in a chat room
In the same Chat.jsx file, add a method to handle message input. This method calls the pubnub.publish() action to publish a message from the user to the chat channel. This message will be received by all active users in that chat room.
Now we need to return our view and add some styling to it. The code below will render the UI to display messages in a list and display a text input to enter messages.
And that’s it! That’s all the code you need. You can now start the project to render the application in your local environment.
Start the app
Next steps
In this tutorial, we learned how to create a simple chat app with React Native using PubNub. You’ve now got a basic mobile chat application allowing users to send and receive messages in real time.
Go to our React Reference Docs to learn how to add more features to your app like message persistence, presence, etc.


