Build a Smart Doorbell with Arduino, React Native, and Push

Disclaimer: This post was written using PubNub's React SDK V1. Check out our React SDK docs for an up-to-date reference.
You can use a smart button to automate tasks, control multiple devices at once, or trigger actions on third-party APIs. This everyday automation is often implemented in conjunction with APIs like Twitter, Facebook, Twilio, and IFTTT. You can do almost anything you can imagine with just a button press.
- Tweet that you’re out of toilet paper.
- Reorder kitchen supplies.
- Turn on the coffee machine and the lights.
What’s a Smart Doorbell?
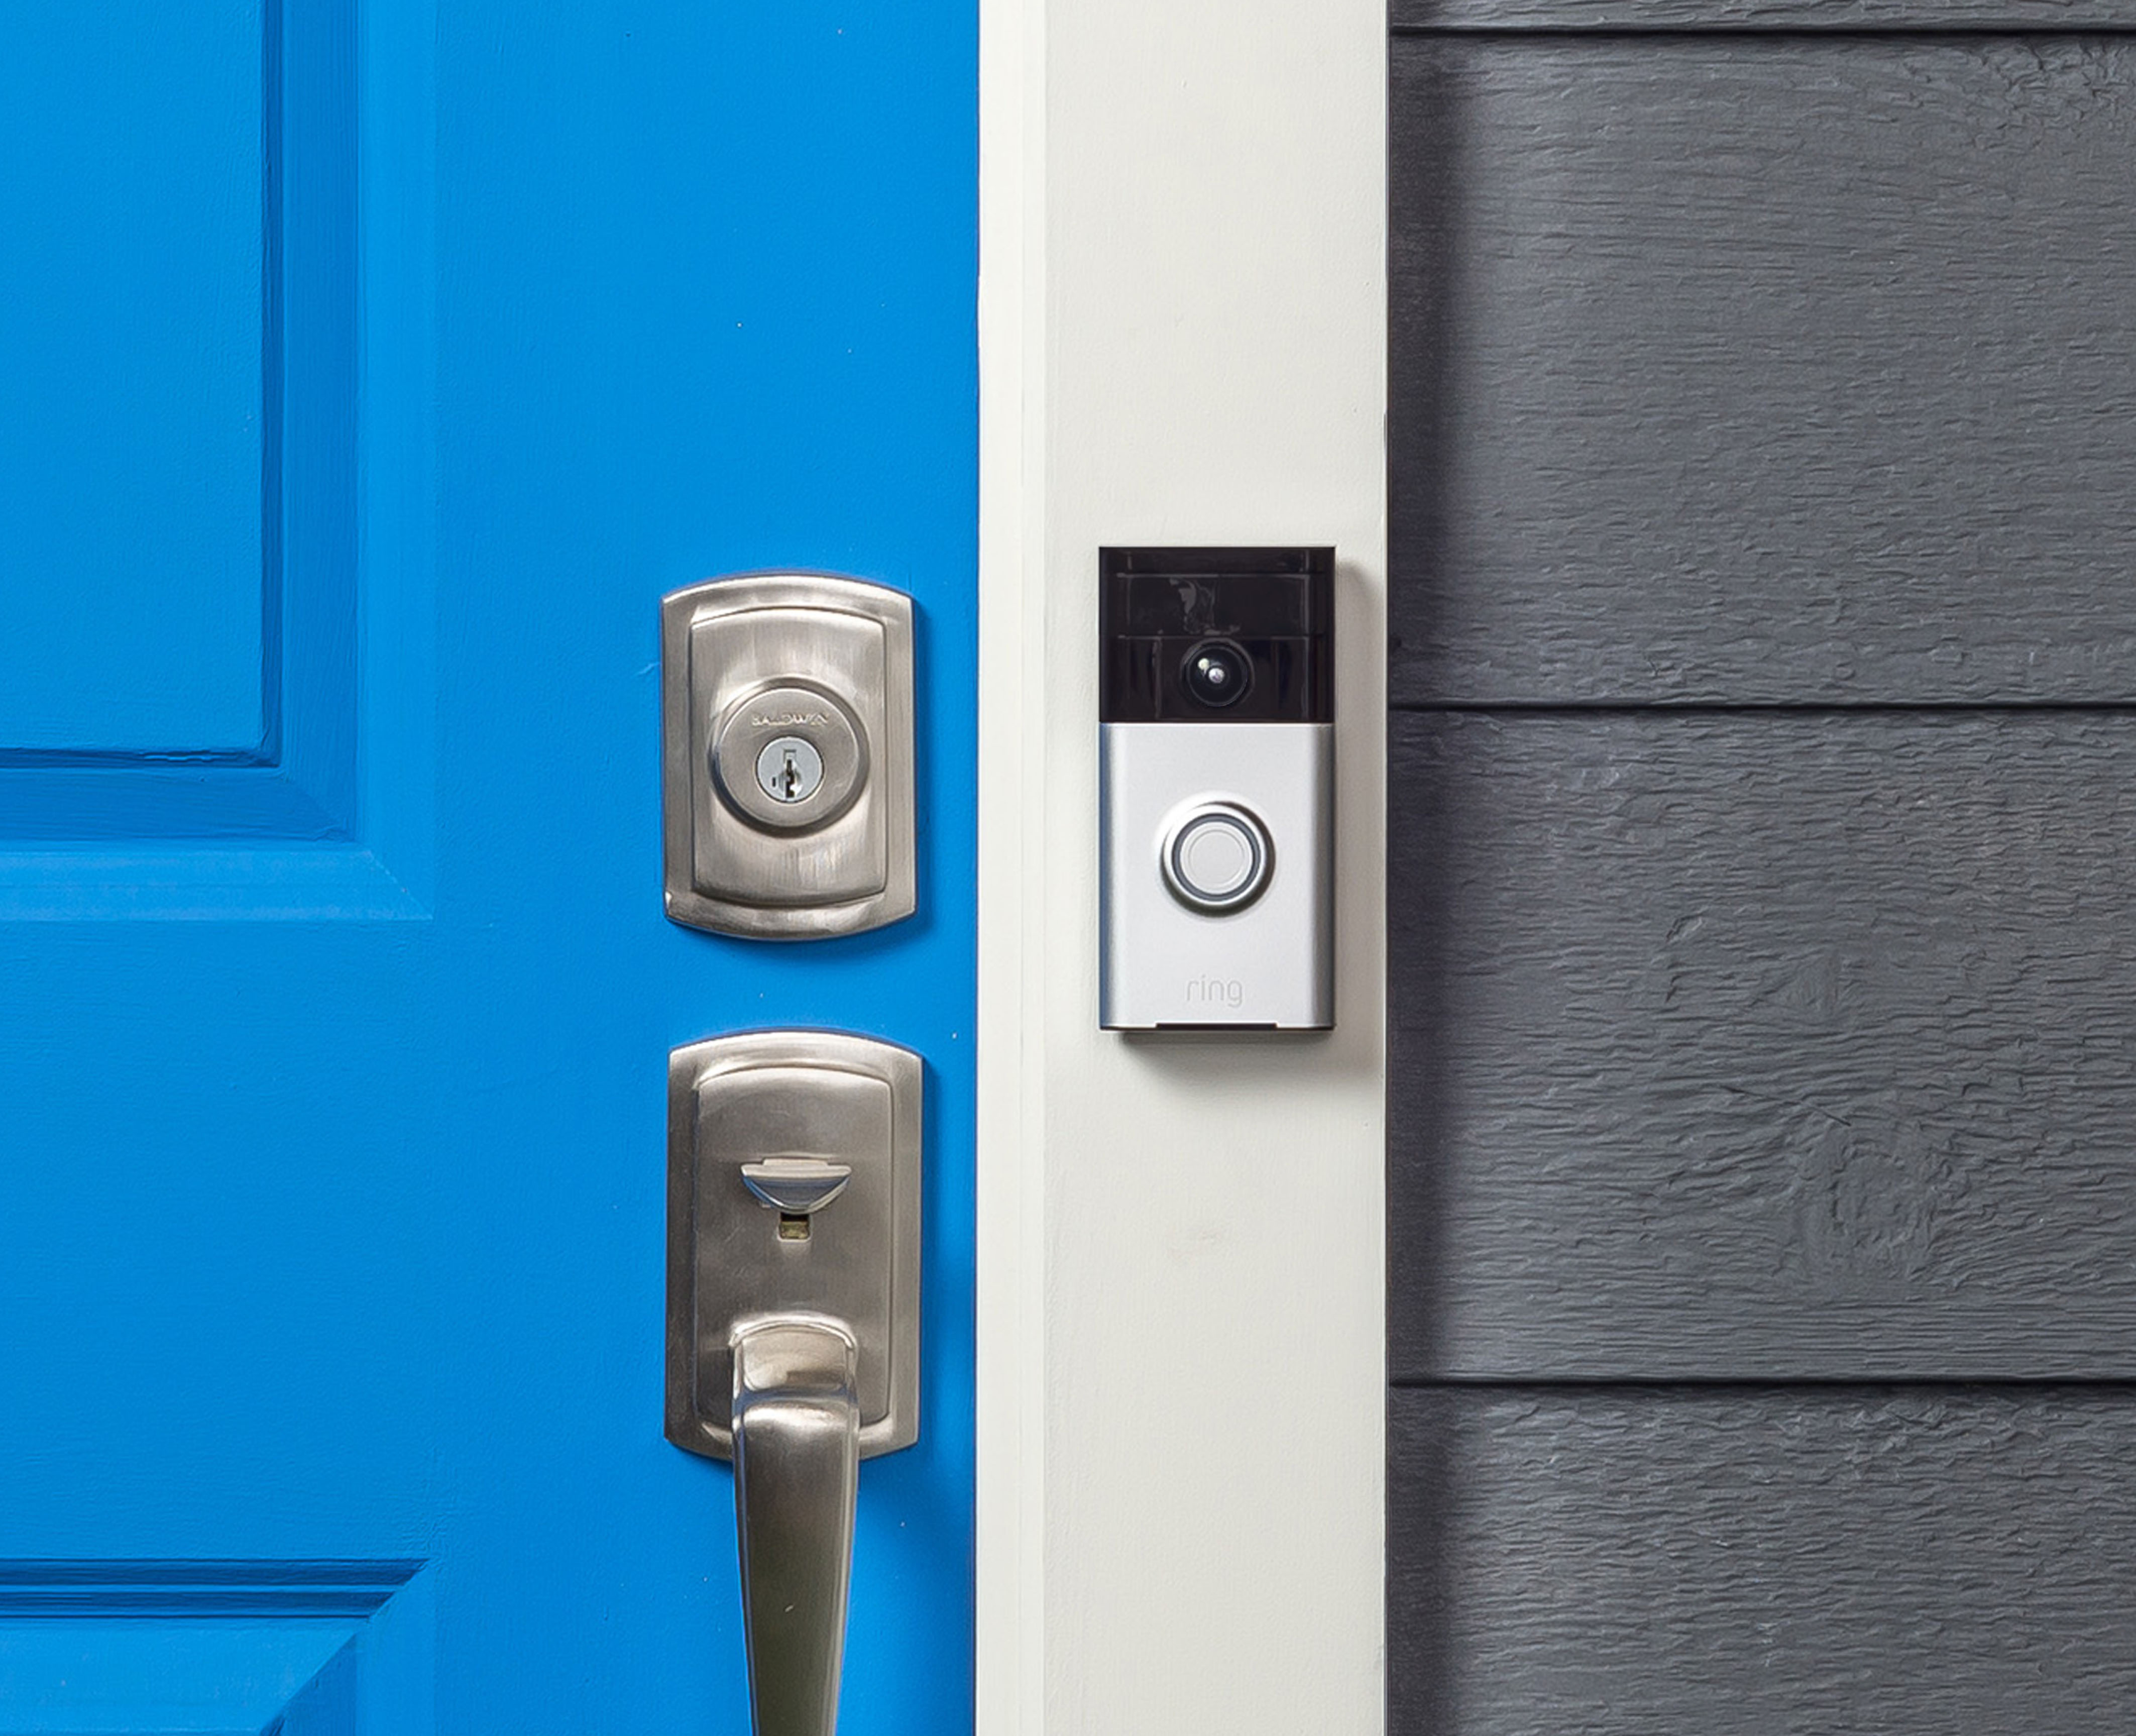
A smart doorbell is an internet-connected device that alerts you when there’s someone at your door.

You can use a smart doorbell to keep your home safe and eliminate risks associated with opening the door for strangers. Most smart doorbells sold today include live video streaming to Wi-Fi-enabled apps, two-way communication, and home automation compatibility.
Popular smart doorbells include:
- Ring Video Doorbell
- Zmodo Smart Doorbell
- Google Nest Hello Doorbell
IoT Smart Button with Arduino and PubNub

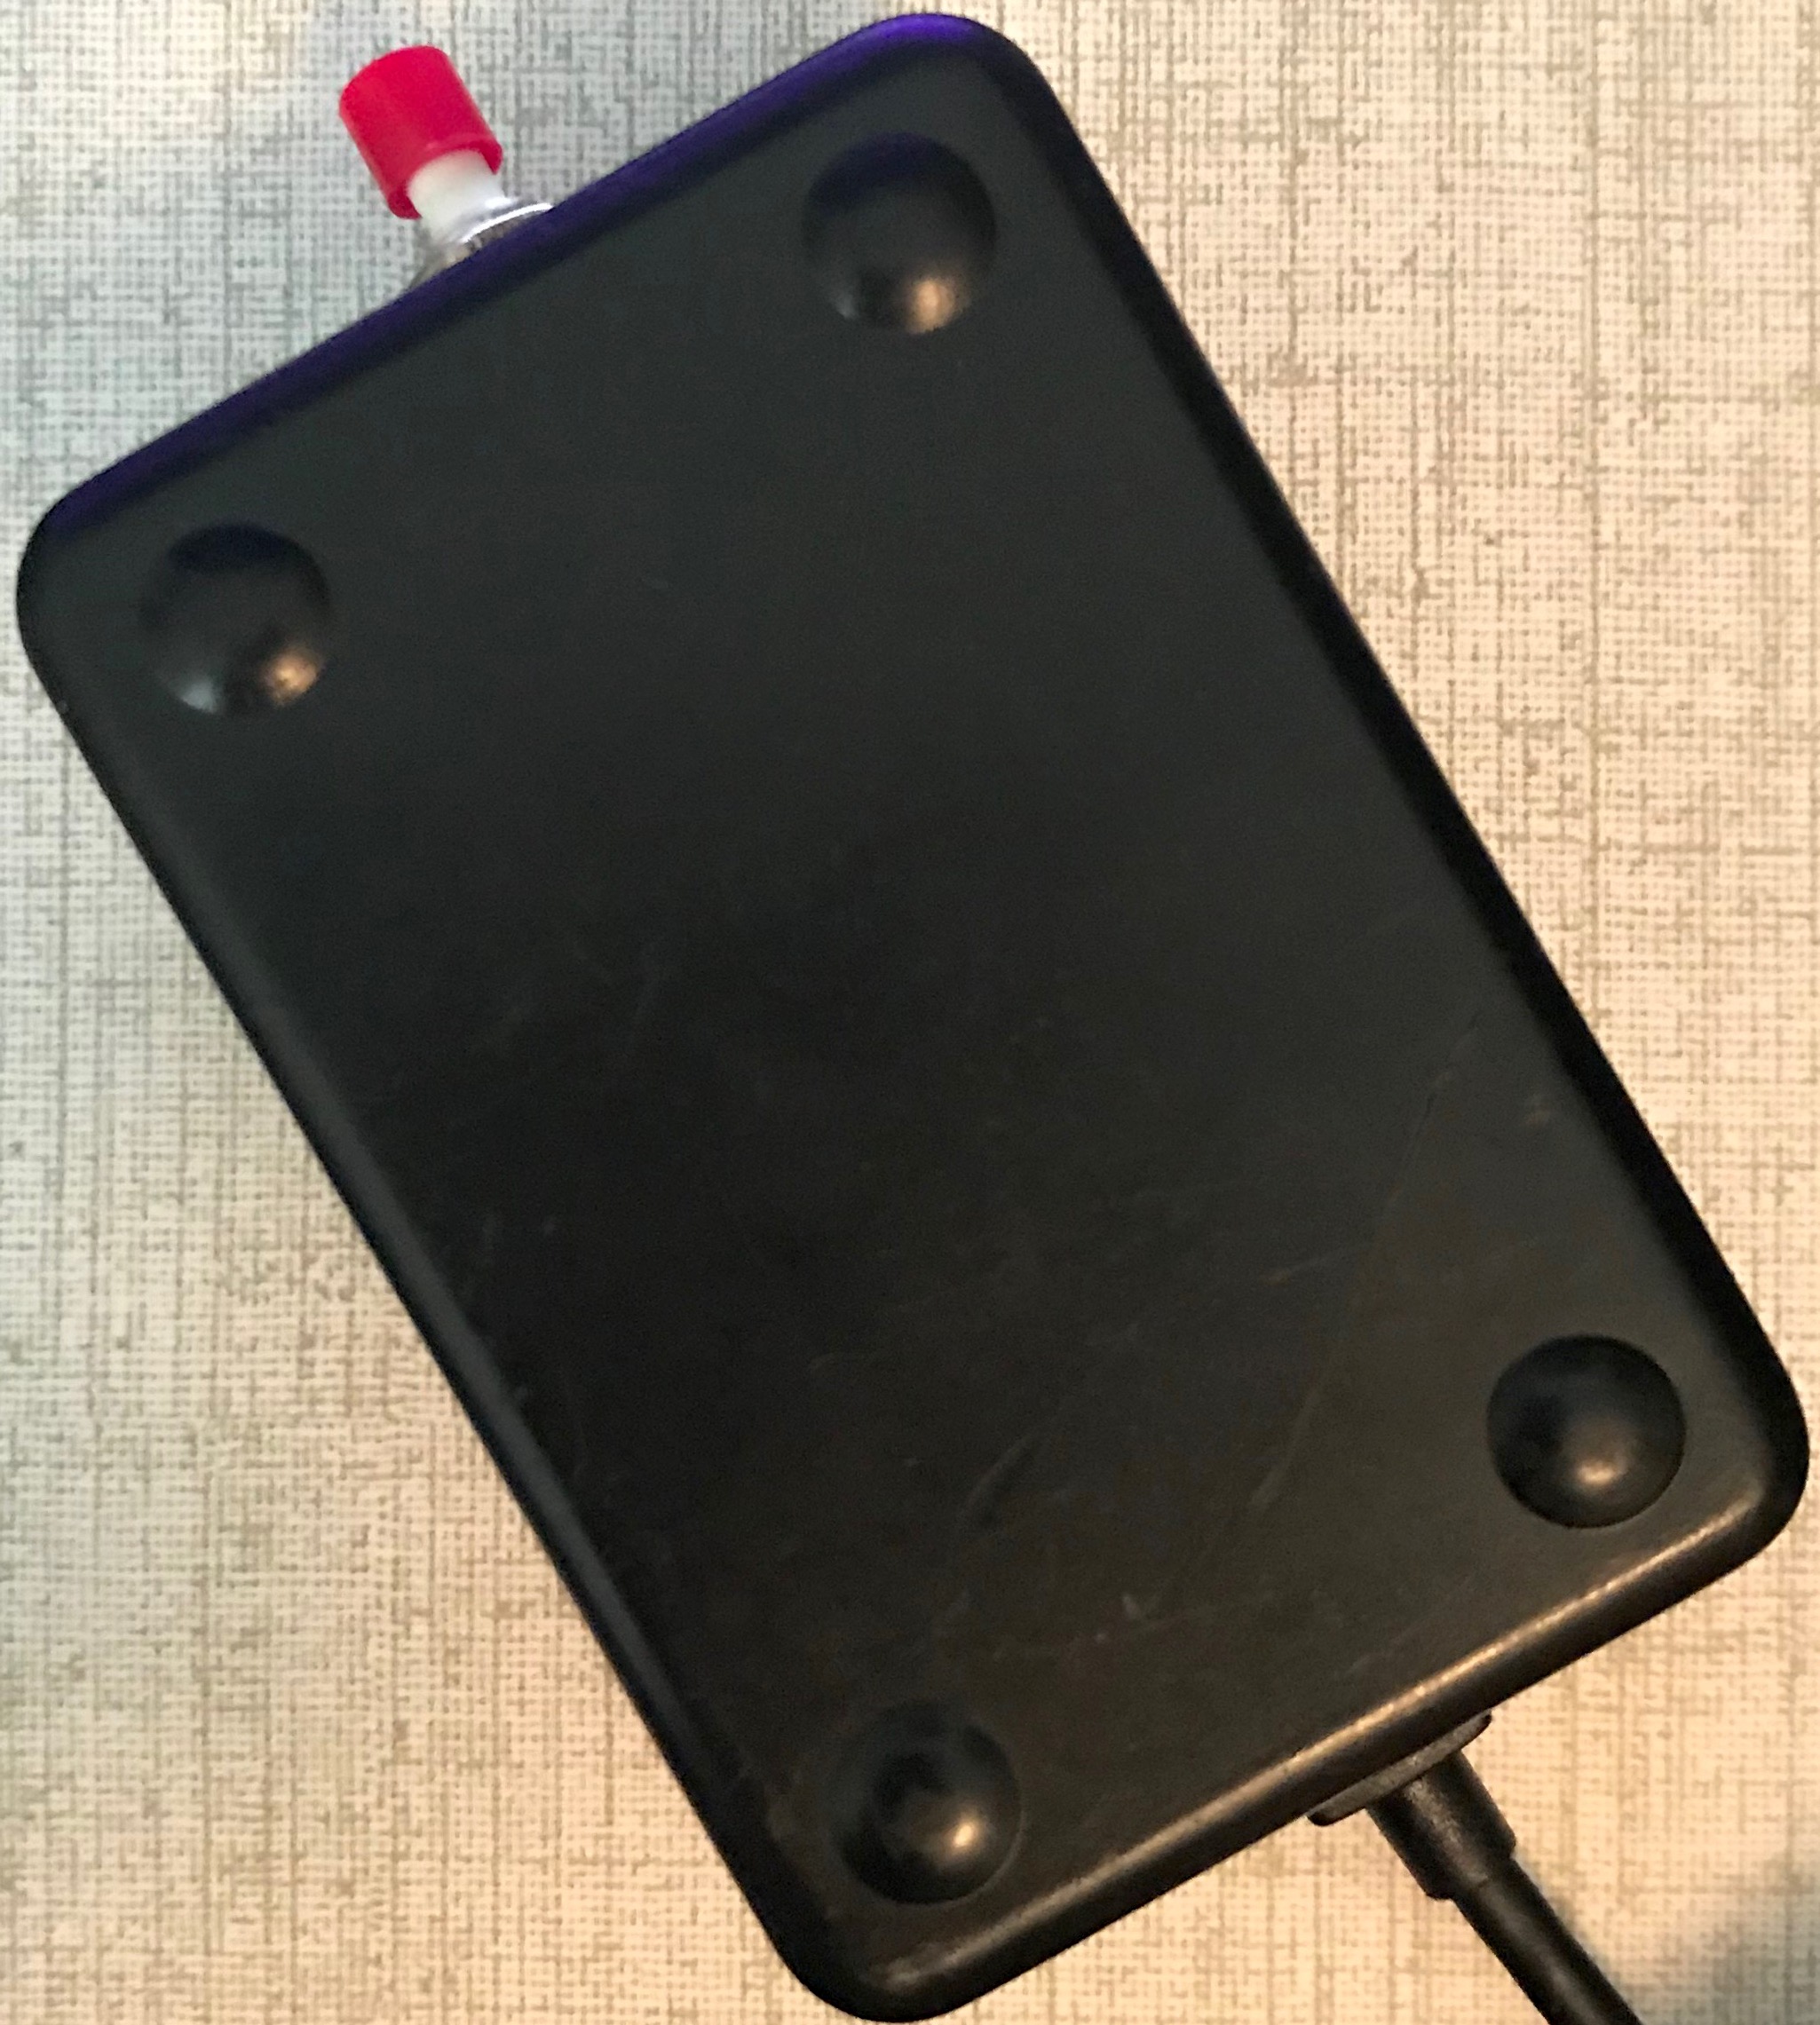
First, you’ll need to build your own PubNub powered IoT smart button to use with this tutorial. I’ve put together a guide to build your own IoT smart button.
You only need two things:
- A push button.
- A MKR1000 development board.
Build your button by following this guide.
What else can I do with my Smart Button?
We are going to use the smart button as a smart doorbell in this tutorial, but you can also use it to do things like:
- Dim the lights and play mood music.
- DIY Amazon IoT Dash Button.
- Flash all the exterior lights, in an instant, to scare an intruder.
Create a Smart Doorbell React Native App
Now that you’ve built your own smart button, we can use it with a React Native app as our own Smart Doorbell.
Install React Native. Be sure to follow the guide for “Building Projects with Native Code” to be able to install on a device.
Use the React Native command line interface to create a new React Native project from your terminal:
react-native init SmartDoorbell
Move into the project directory and install the PubNub React SDK.
cd SmartDoorbell
npm install --save pubnub pubnub-react@1
Edit App.js and remove the instructions constant, any existing views inside render(), and any existing styles. The result should be a blank project template.
import React, {Component} from 'react';
import {Platform, StyleSheet, Text, View} from 'react-native';

type Props = {};
export default class App extends Component<Props> {
  render() {
    return (
    );
  }
}

const styles = StyleSheet.create({
});
Update imports to include the libraries used in this project.
import React, {Component} from 'react';
import {StyleSheet, FlatList, Text, View} from 'react-native';
import PubNubReact from 'pubnub-react';
Initialize PubNub and the array to hold button events. Add the constructor inside the App component and before the render() function. Get your unique PubNub keys from the PubNub Admin Dashboard. If you don’t have a PubNub account, you can sign up for a PubNub account for free. Replace “YOUR_PUBNUB_PUBLISH_KEY_HERE” and YOUR_PUBNUB_SUBSCRIBE_KEY_HERE with your keys.
Important Note: You must also enable Storage & Playback for this project to work correctly. You can decide how long you want your messages to be retained for. Learn more about enabling Storage & Playback from the Knowledge Base.
constructor(props) {
  super(props);

  this.array = [],

  this.state = {
    arrayHolder: [],
  }

  this.pubnub = new PubNubReact({
    publishKey: 'YOUR_PUBNUB_PUBLISH_KEY_HERE',
    subscribeKey: 'YOUR_PUBNUB_SUBSCRIBE_KEY_HERE'
  });

  this.pubnub.init(this);
}
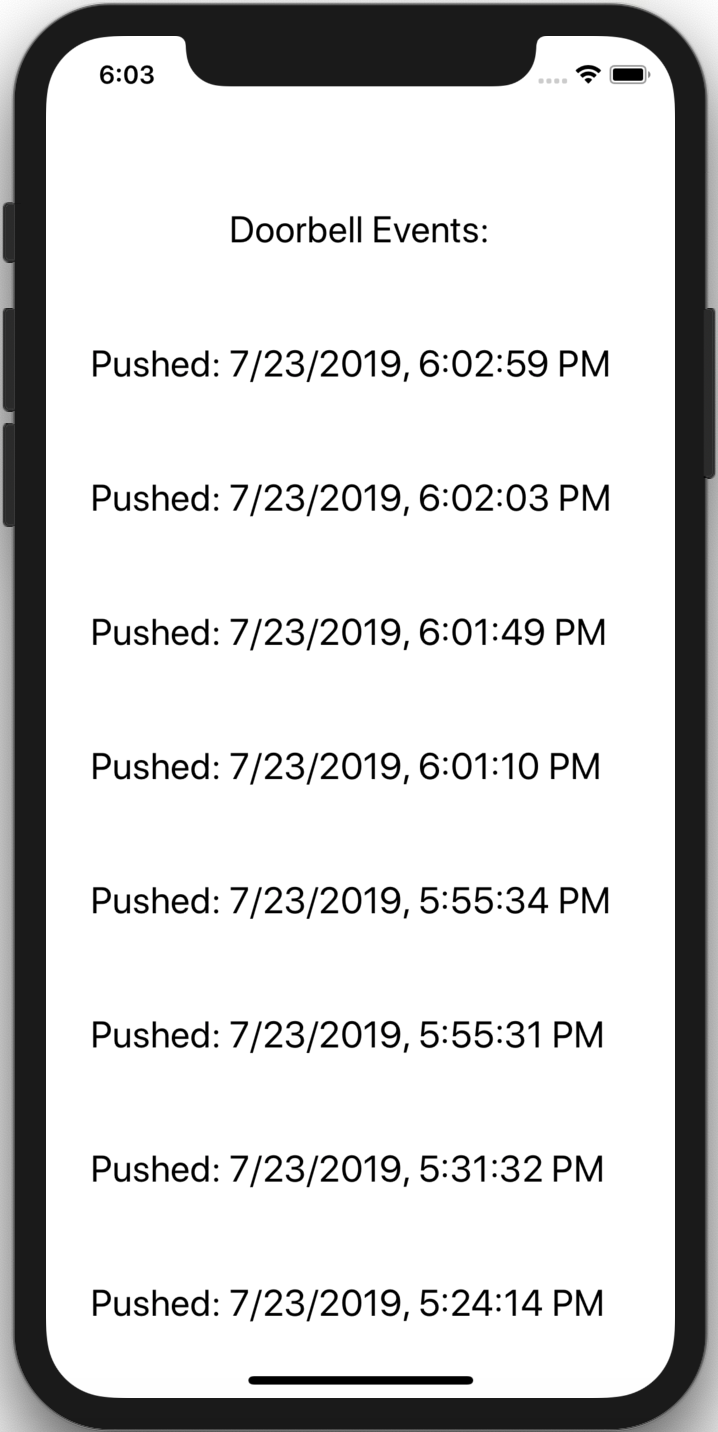
Add a flatlist to the render() function to display the history of button events. We’ll also add a label.
render() {
    return (
       <View style={styles.MainContainer}>

       <Text style={styles.item}> Doorbell Events: </Text>

        <FlatList
            inverted

            ref={ref => this.flatList = ref}

            data={this.state.arrayHolder}

            width='100%'

            extraData={this.state.arrayHolder}

            keyExtractor={(item, index)=> { return item.title.toString()}}

            ItemSeparatorComponent={this.FlatListItemSeparator}

            renderItem={({ item }) => <Text style={styles.item}> {item.title} </Text>}

            onContentSizeChange={() => this.flatList.scrollToEnd({animated: true})}

            onLayout={() => this.flatList.scrollToEnd({animated: true})}
        />

      </View>
    );
  }
Add styles for the view.
const styles = StyleSheet.create({

  MainContainer: {
    paddingTop: 80,
    paddingBottom: 40,
    justifyContent: 'center',
    alignItems: 'center',
    flex: 1,
    margin: 2

  },

  item: {
    padding: 20,
    fontSize: 22,
    alignItems: 'center',
    justifyContent: 'center',
    height: 80,
  },

});
Add functions to subscribe, unsubscribe, and retrieve history for the “smart_buttons” channel. Add inside the App component, after the constructor, and before render().
componentDidMount() {
   // Subscribe to smart_buttons channel and get events.
   this.pubnub.subscribe({
       channels: ['smart_buttons']
   });
   // Update when the button is pressed.
   this.pubnub.getMessage('smart_buttons', (msg) => {
       var messageTimestamp = new Date(parseInt(msg.timetoken.slice(0, 10))*1000);
       this.array.push({title : "Pushed: "+messageTimestamp.toLocaleString()});
       this.setState({ arrayHolder: [...this.array] })
   });
   // Get and display previous button events.
   this.pubnub.history(
     {
         channel: 'smart_buttons',
         count: 20,
     },
     function (status, response) {
       if (status.statusCode == 200) {
           for (var i=0; i < 20; i++) {
               var timestamp = new Date(parseInt(response.messages[i].timetoken.toString().slice(0, 10))*1000);
               this.array.push({title : "Pushed: "+timestamp.toLocaleString()});
               this.setState({ arrayHolder: [...this.array] })
           }
       }
     }.bind(this)
   );
 }

 componentWillUnmount() {
   this.pubnub.unsubscribe({
       channels: ['smart_buttons']
   });
 }
The entire App.js file should look like this:
import React, {Component} from 'react';
import {StyleSheet, FlatList, Text, View} from 'react-native';
import PubNubReact from 'pubnub-react';

type Props = {};
export default class App extends Component<Props> {

  constructor(props) {
    super(props);

    this.array = [],

    this.state = {
      arrayHolder: [],
    }

    this.pubnub = new PubNubReact({
        subscribeKey: 'YOUR_SUB_KEY_HERE' // YOUR PUBNUB SUBSCRIBE KEY HERE
    });

    this.pubnub.init(this);
  }

  componentDidMount() {
    // Subscribe to smart_buttons channel and get events.
    this.pubnub.subscribe({
        channels: ['smart_buttons']
    });
    // Update when the button is pressed.
    this.pubnub.getMessage('smart_buttons', (msg) => {
        var messageTimestamp = new Date(parseInt(msg.timetoken.slice(0, 10))*1000);
        this.array.push({title : "Pushed: "+messageTimestamp.toLocaleString()});
        this.setState({ arrayHolder: [...this.array] })
    });
    // Get and display previous button events.
    this.pubnub.history(
      {
          channel: 'smart_buttons',
          count: 20,
      },
      function (status, response) {
        if (status.statusCode == 200) {
            for (var i=0; i < 20; i++) {
                var timestamp = new Date(parseInt(response.messages[i].timetoken.toString().slice(0, 10))*1000);
                this.array.push({title : "Pushed: "+timestamp.toLocaleString()});
                this.setState({ arrayHolder: [...this.array] })
            }
        }
      }.bind(this)
    );
  }

  componentWillUnmount() {
    this.pubnub.unsubscribe({
        channels: ['smart_buttons']
    });
  }

  render() {
    return (
       <View style={styles.MainContainer}>

       <Text style={styles.item}> Doorbell Events: </Text>

        <FlatList
            inverted

            ref={ref => this.flatList = ref}

            data={this.state.arrayHolder}

            width='100%'

            extraData={this.state.arrayHolder}

            keyExtractor={(item, index)=> { return item.title.toString()}}

            ItemSeparatorComponent={this.FlatListItemSeparator}

            renderItem={({ item }) => <Text style={styles.item}> {item.title} </Text>}

            onContentSizeChange={() => this.flatList.scrollToEnd({animated: true})}

            onLayout={() => this.flatList.scrollToEnd({animated: true})}
        />

      </View>
    );
  }
}

const styles = StyleSheet.create({

  MainContainer: {
    paddingTop: 80,
    paddingBottom: 40,
    justifyContent: 'center',
    alignItems: 'center',
    flex: 1,
    margin: 2

  },

  item: {
    padding: 20,
    fontSize: 22,
    alignItems: 'center',
    justifyContent: 'center',
    height: 80,
  },

});
See the complete version of the app in the Smart Doorbell Github Repo.
Test the app in the iOS simulator. It may take some time to build the project.
react-native run-ios

You can also test with the Android Emulator (you’ll need to start it first).
react-native run-android
 Follow this guide to install on your device (iOS or Android).
What’s Next?
Have suggestions or questions about the content of this post? Reach out at devrel@pubnub.com.